This is a step by step guide on how to install a USB floppy emulator GOTEK to the synthesizer Ensoniq VFX SD. It’s rather easy when you know how 🙂

We will flash a 3rd party firmware into a Gotek drive and then we create a disk image for the USB stick. You should know how to solder a pin header to the PCB using soldering iron.
What you need:
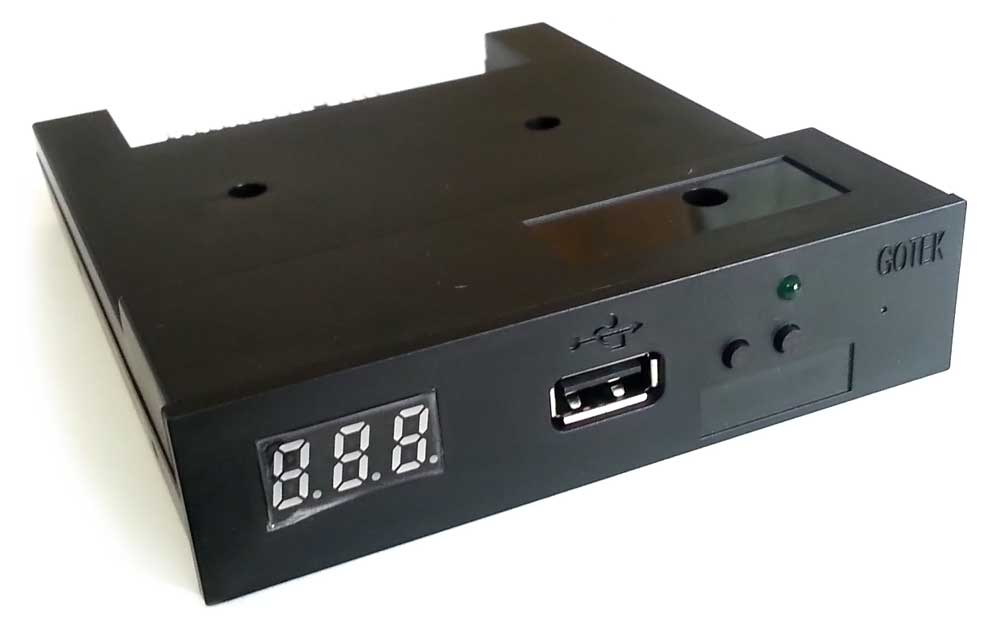
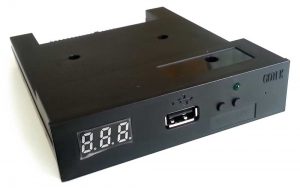 Gotek USB Floppy emulator (ebay)
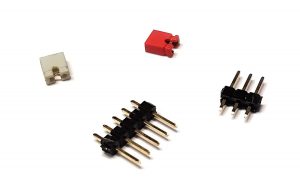
- Jumper and 3 & 5 pin headers
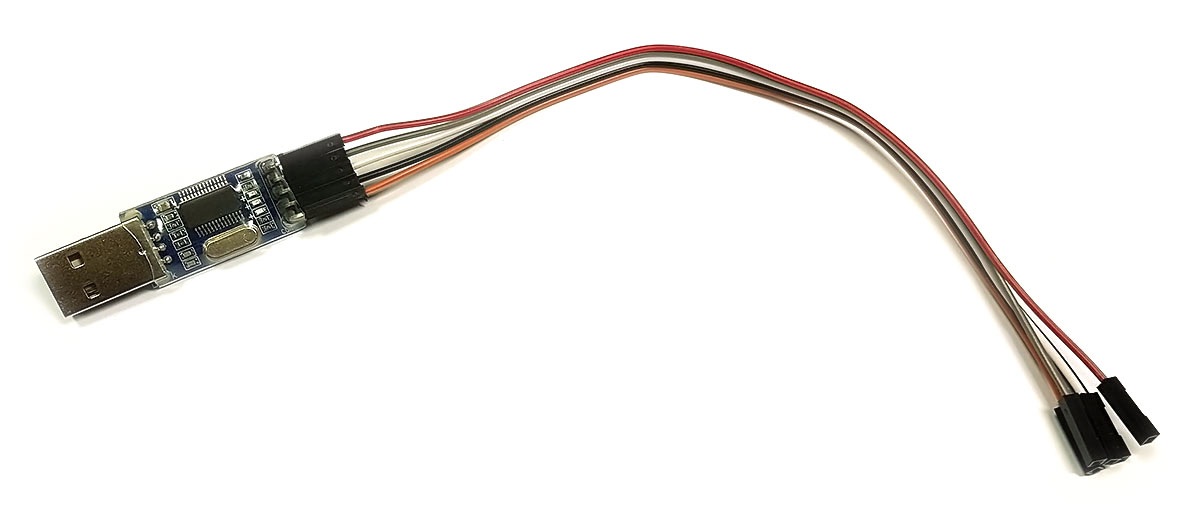
- PL2303HX USB To RS232 TTL Adapter with some wires (ebay)

- HXCFEUSB_HFE_beta_firmware.zip
- Pay the Frenchman a tenner here and get your programming password.
- Soldering iron

The link above points to the french guy Jean-François del Nero. He did a great programing job, but his blog is a mayhem. Some pages are French, some English. There are loads of duplicate files… To dig the info you need is a PITA. You need this ZIP only, it contains all necessary files.
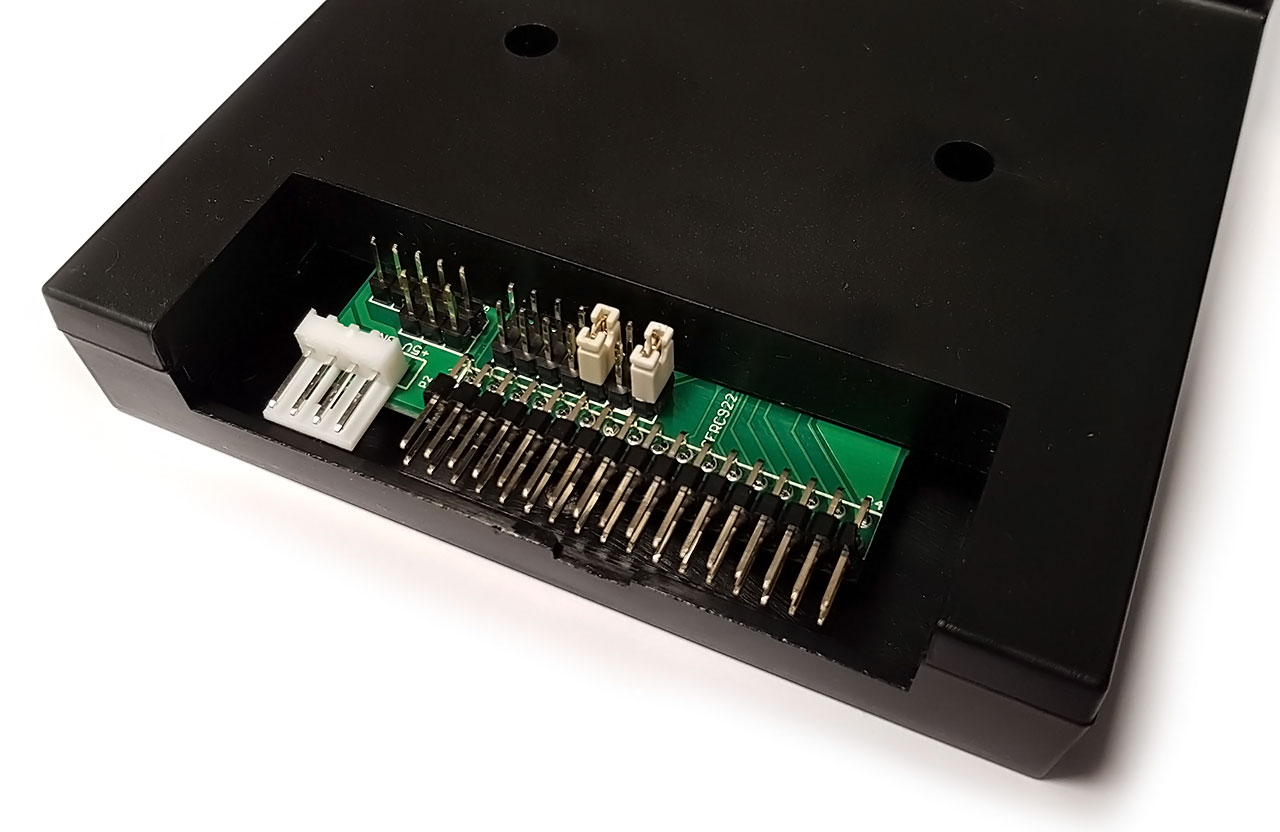
Now, disassemble your GOTEK, and prepare your board. Solder the headers into programming port:
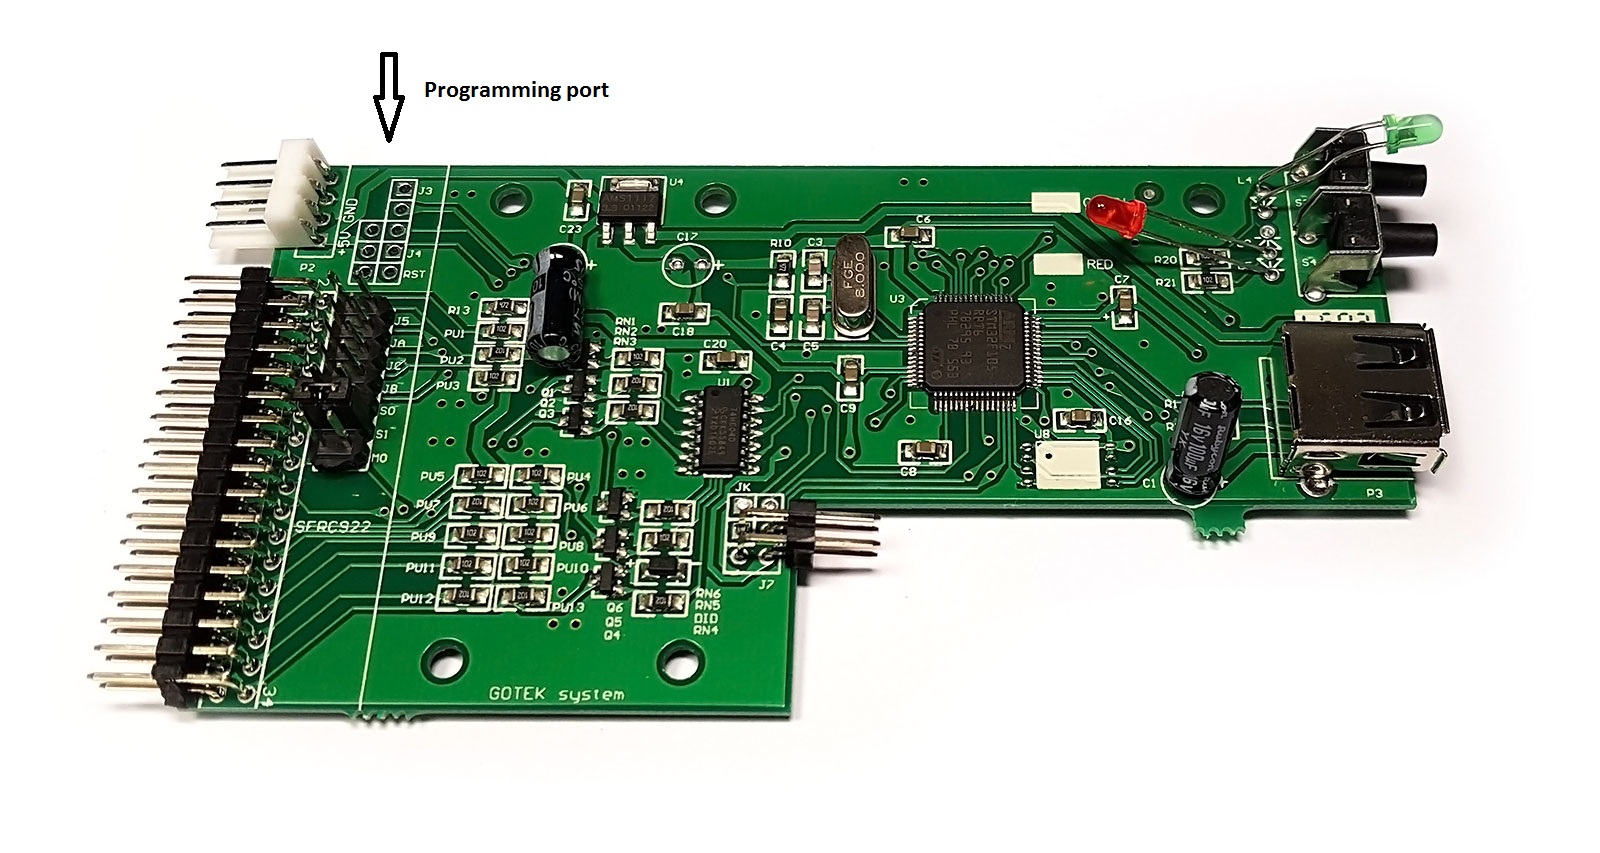
Like this: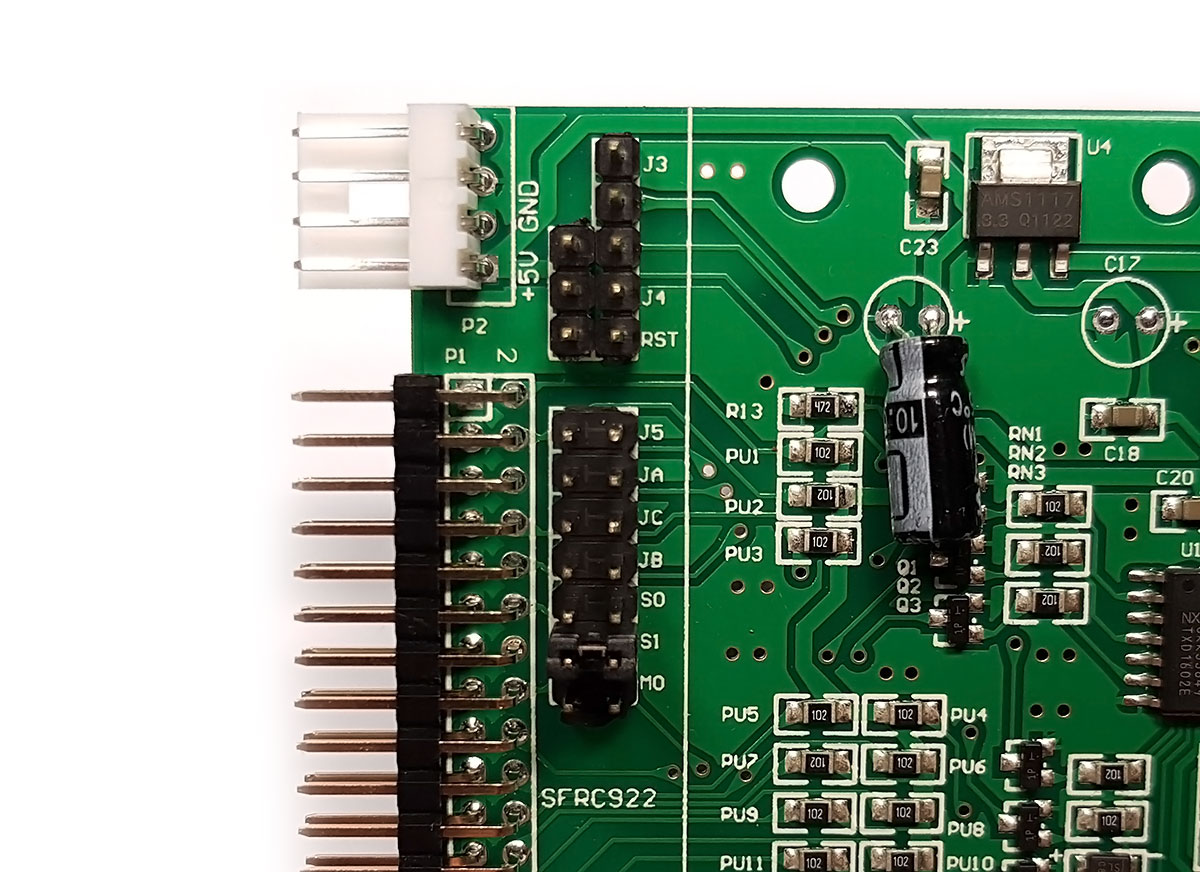
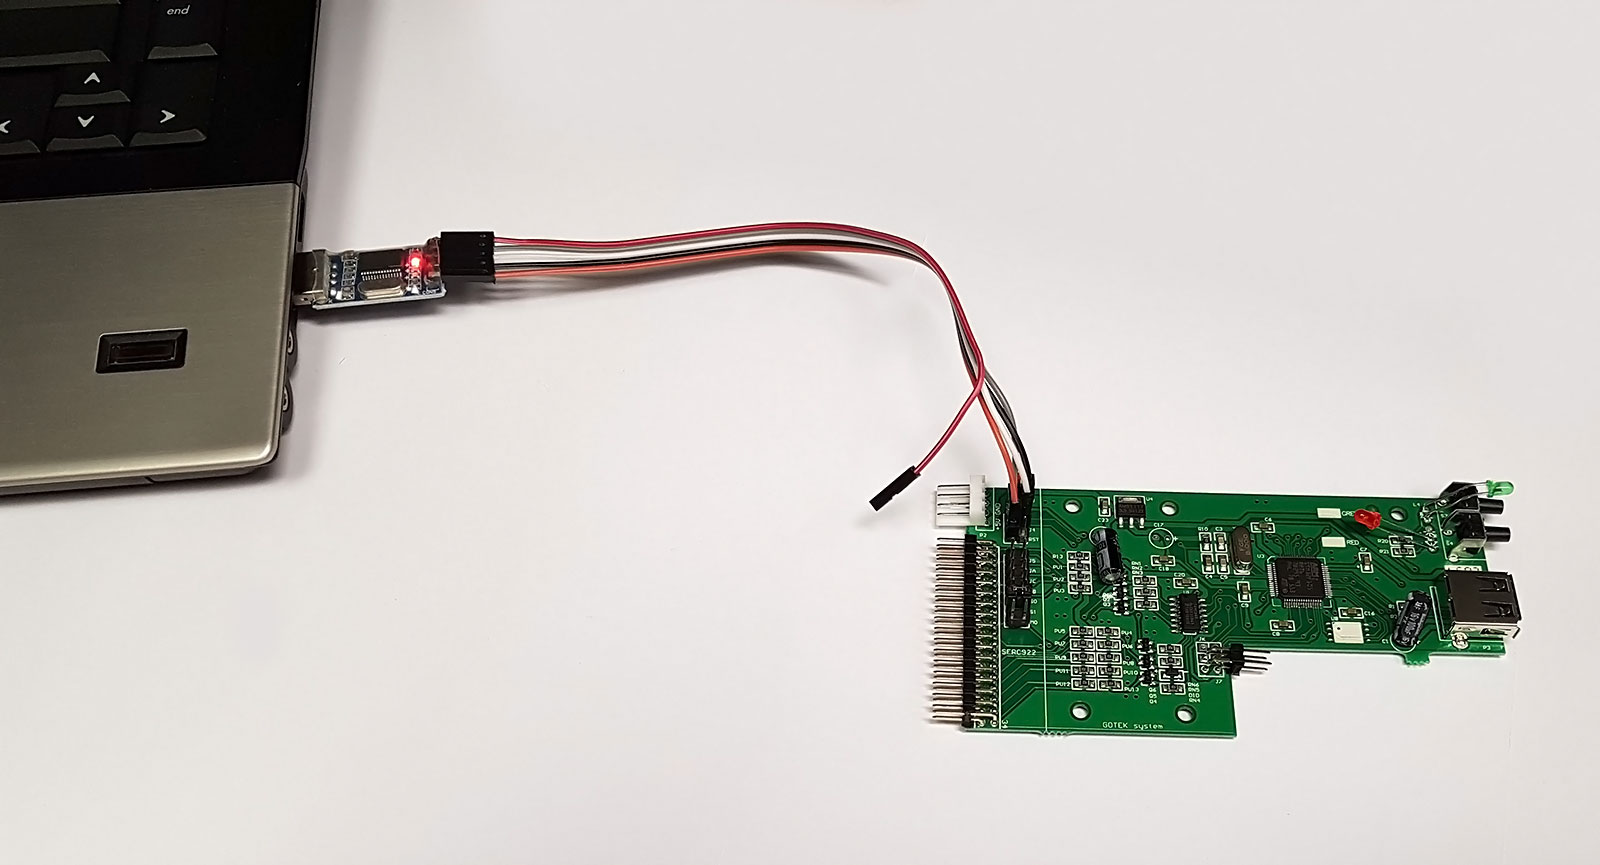
Install your PL2303HX programmer. Plug it to your PC. It should download the drivers automatically (I use W7). Note the COM port number.
Once it is working, pull it out from USB and connect it to the GOTEK board like this:
- GND to GND

- 5V to 5V
- RX to TX
- TX to RX
- put jumper across BOOT0 and VCC3.3
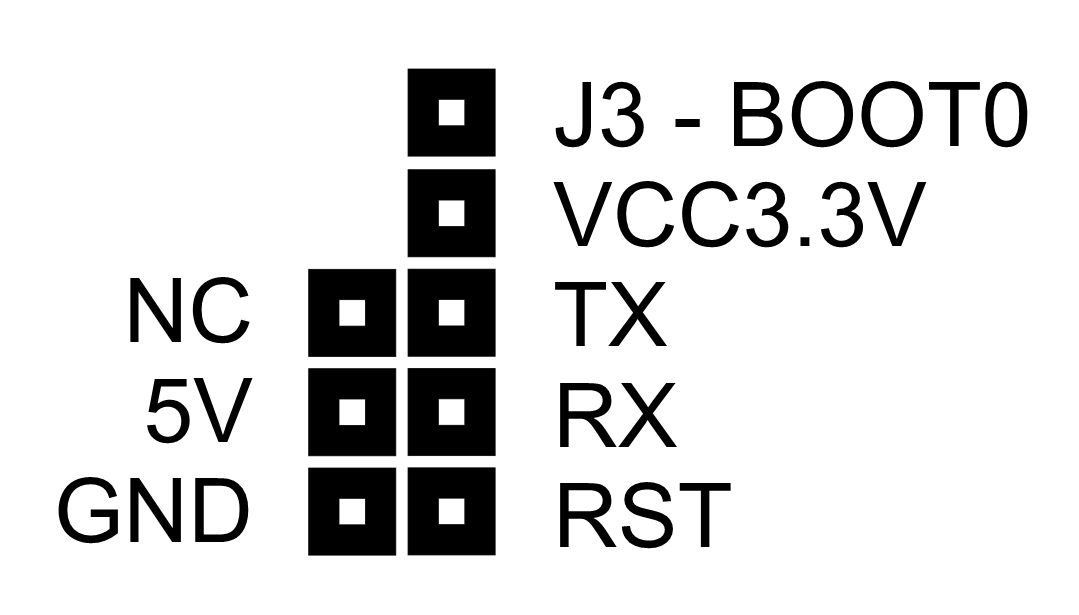
You do not connect programmer’s 3.3V anywhere. Just leave it. Now plug everything to USB port on your PC
Run the FLASHER, (file SecSerialBridge.exe) and try to open your COM port. Then enter your account info and click Connect. The program should say Device Detected:
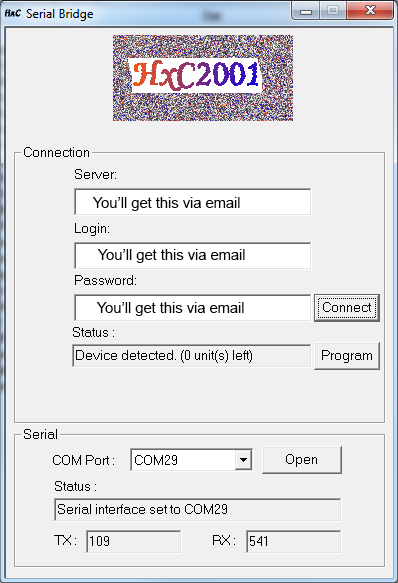
As you can see I have zero units left as I paid only for one unit. If you have everything ready, make sure your SKYPE won’t fuck up your programming process by ringing, close it down and press PROGRAM. The GOTEK should be programmed within few minutes.
At this point the hard bit is over. I should have menitoned that this was only a BOOT LOADER, and now we have to upload the FIRMWARE.
 Note: Before you install GOTEK into the instrument, you should install jumpers to S0 and MO positions. I don’t think it’s necessary but It works for me and I haven’t tried it without them. I’m too lazy to open the lid again…
Disconnect the programmer and install the GOTEK into your instrument. After power on, it should say Ldr (the instrument’s display should stay dark). Format your USB stick (everything but NTFS I think) and unpack the file HXCFEUSB_V3_0_33_12a.UPD from that ZIP into the root of the USB stick. Then insert it into GOTEK – it shoud do nice sneak animation on display. Once it is finished it should say hXc and your Ensoniq should initialize. To manually flash another firmware, just press and hold both GOTEK buttons while power on. It should say Ldr and you’re ready to flash.
Create your USB Floppy bank by unpacking content of this zip file to your USB. There is 100 images already formatted for instant use.
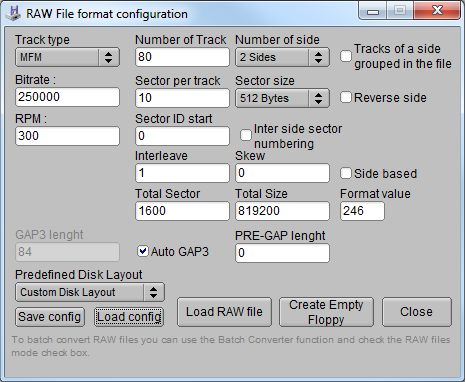
It seems like Ensoniq VFX SD uses the same format as COMODORE AMIGA, 820KB DS DD, which is the reason why it refuses every PC floppy. If you want to create your own images using the program from Jeff, here is a RAW IMAGE SETTINGS for the IPFConverter program, which is also part of the ZIP file:
This is working for me, hope it will work for you!
Peace.
 2017/12/07 EDIT: I’m looking for the original disk images.
If you want to share them, please leave the comment.
Downloads:
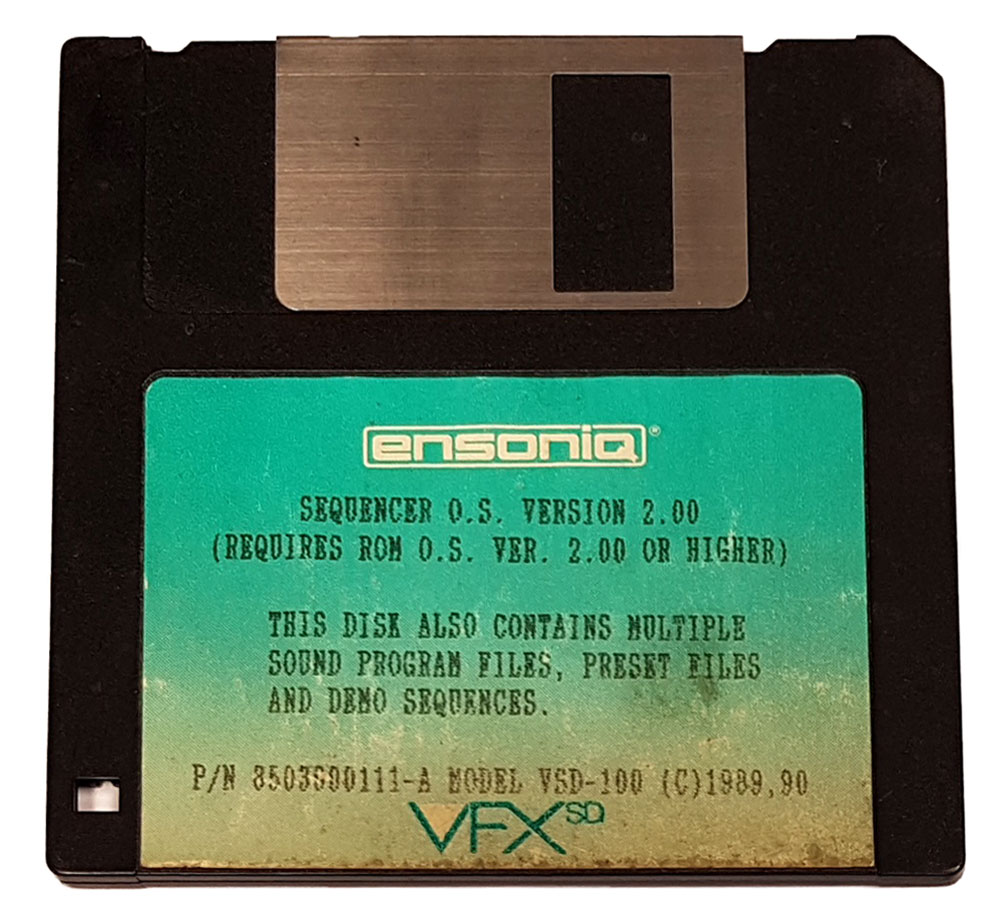
Ensoniq VFX-SD Sequencer OSv2.0
USB_Floppy_Emulator_Gotek_1.40i
Hi there
Vary happy to have found your page.
I’ve got quiet a few discs for the VFX SD I could gladly share if I knew how.
On that note, is it a must to burn the new rom on the emulator, even with their new software (V2)?
Hi Itsik,
To create disk image (obviously you must have an old computer with WIN_XP and floppy drive – USB Floppy does not work) – Download the ZIP file, unpack and run HXCFEUSB_HFE_beta_firmware\Next_WIP_Alpha_Firmware_And_Tools\IPFConverter\HxCFloppyEmulator.exe
Then, set the parameters as shown on the picture above and read the disk images. If everything goes right, the images should be around 2048kb. You may also need to install the dll (floppy controller driver), included in the IPFConverter folder.
To your second question – I don’t know, I haven’t seen Gotek V2